September 25, 2023
By
Daniel Moyer
How to Use The Fischer for Underarm Hyperhidrosis
The Fischer is an advanced iontophoresis device designed to treat underarm hyperhidrosis safely and effectively. With state-of-the-art features, such as metal-free silicone-graphite electrodes and soft sponge pad inserts, The Fischer ensures consistent treatment across your skin for long-lasting dryness.
Follow this simple guide to set up and perform your underarm treatments at home.
Follow this simple guide to set up and perform your underarm treatments at home.
Watch the Video Tutorial
If you're a visual learner, watch our video on how to set up and use The Fischer for underarm hyperhidrosis treatment in just a few simple steps. This quick video covers soaking the sponge pads, connecting electrodes, and starting your session with ease.

How to Use The Fischer
Preparing for Your Treatment
Step 1: Clean Your Underarms
Begin by thoroughly cleaning your underarms to remove any ointments, creams, or cosmetics. As a result, your skin will have better contact with the device, which improves effectiveness.
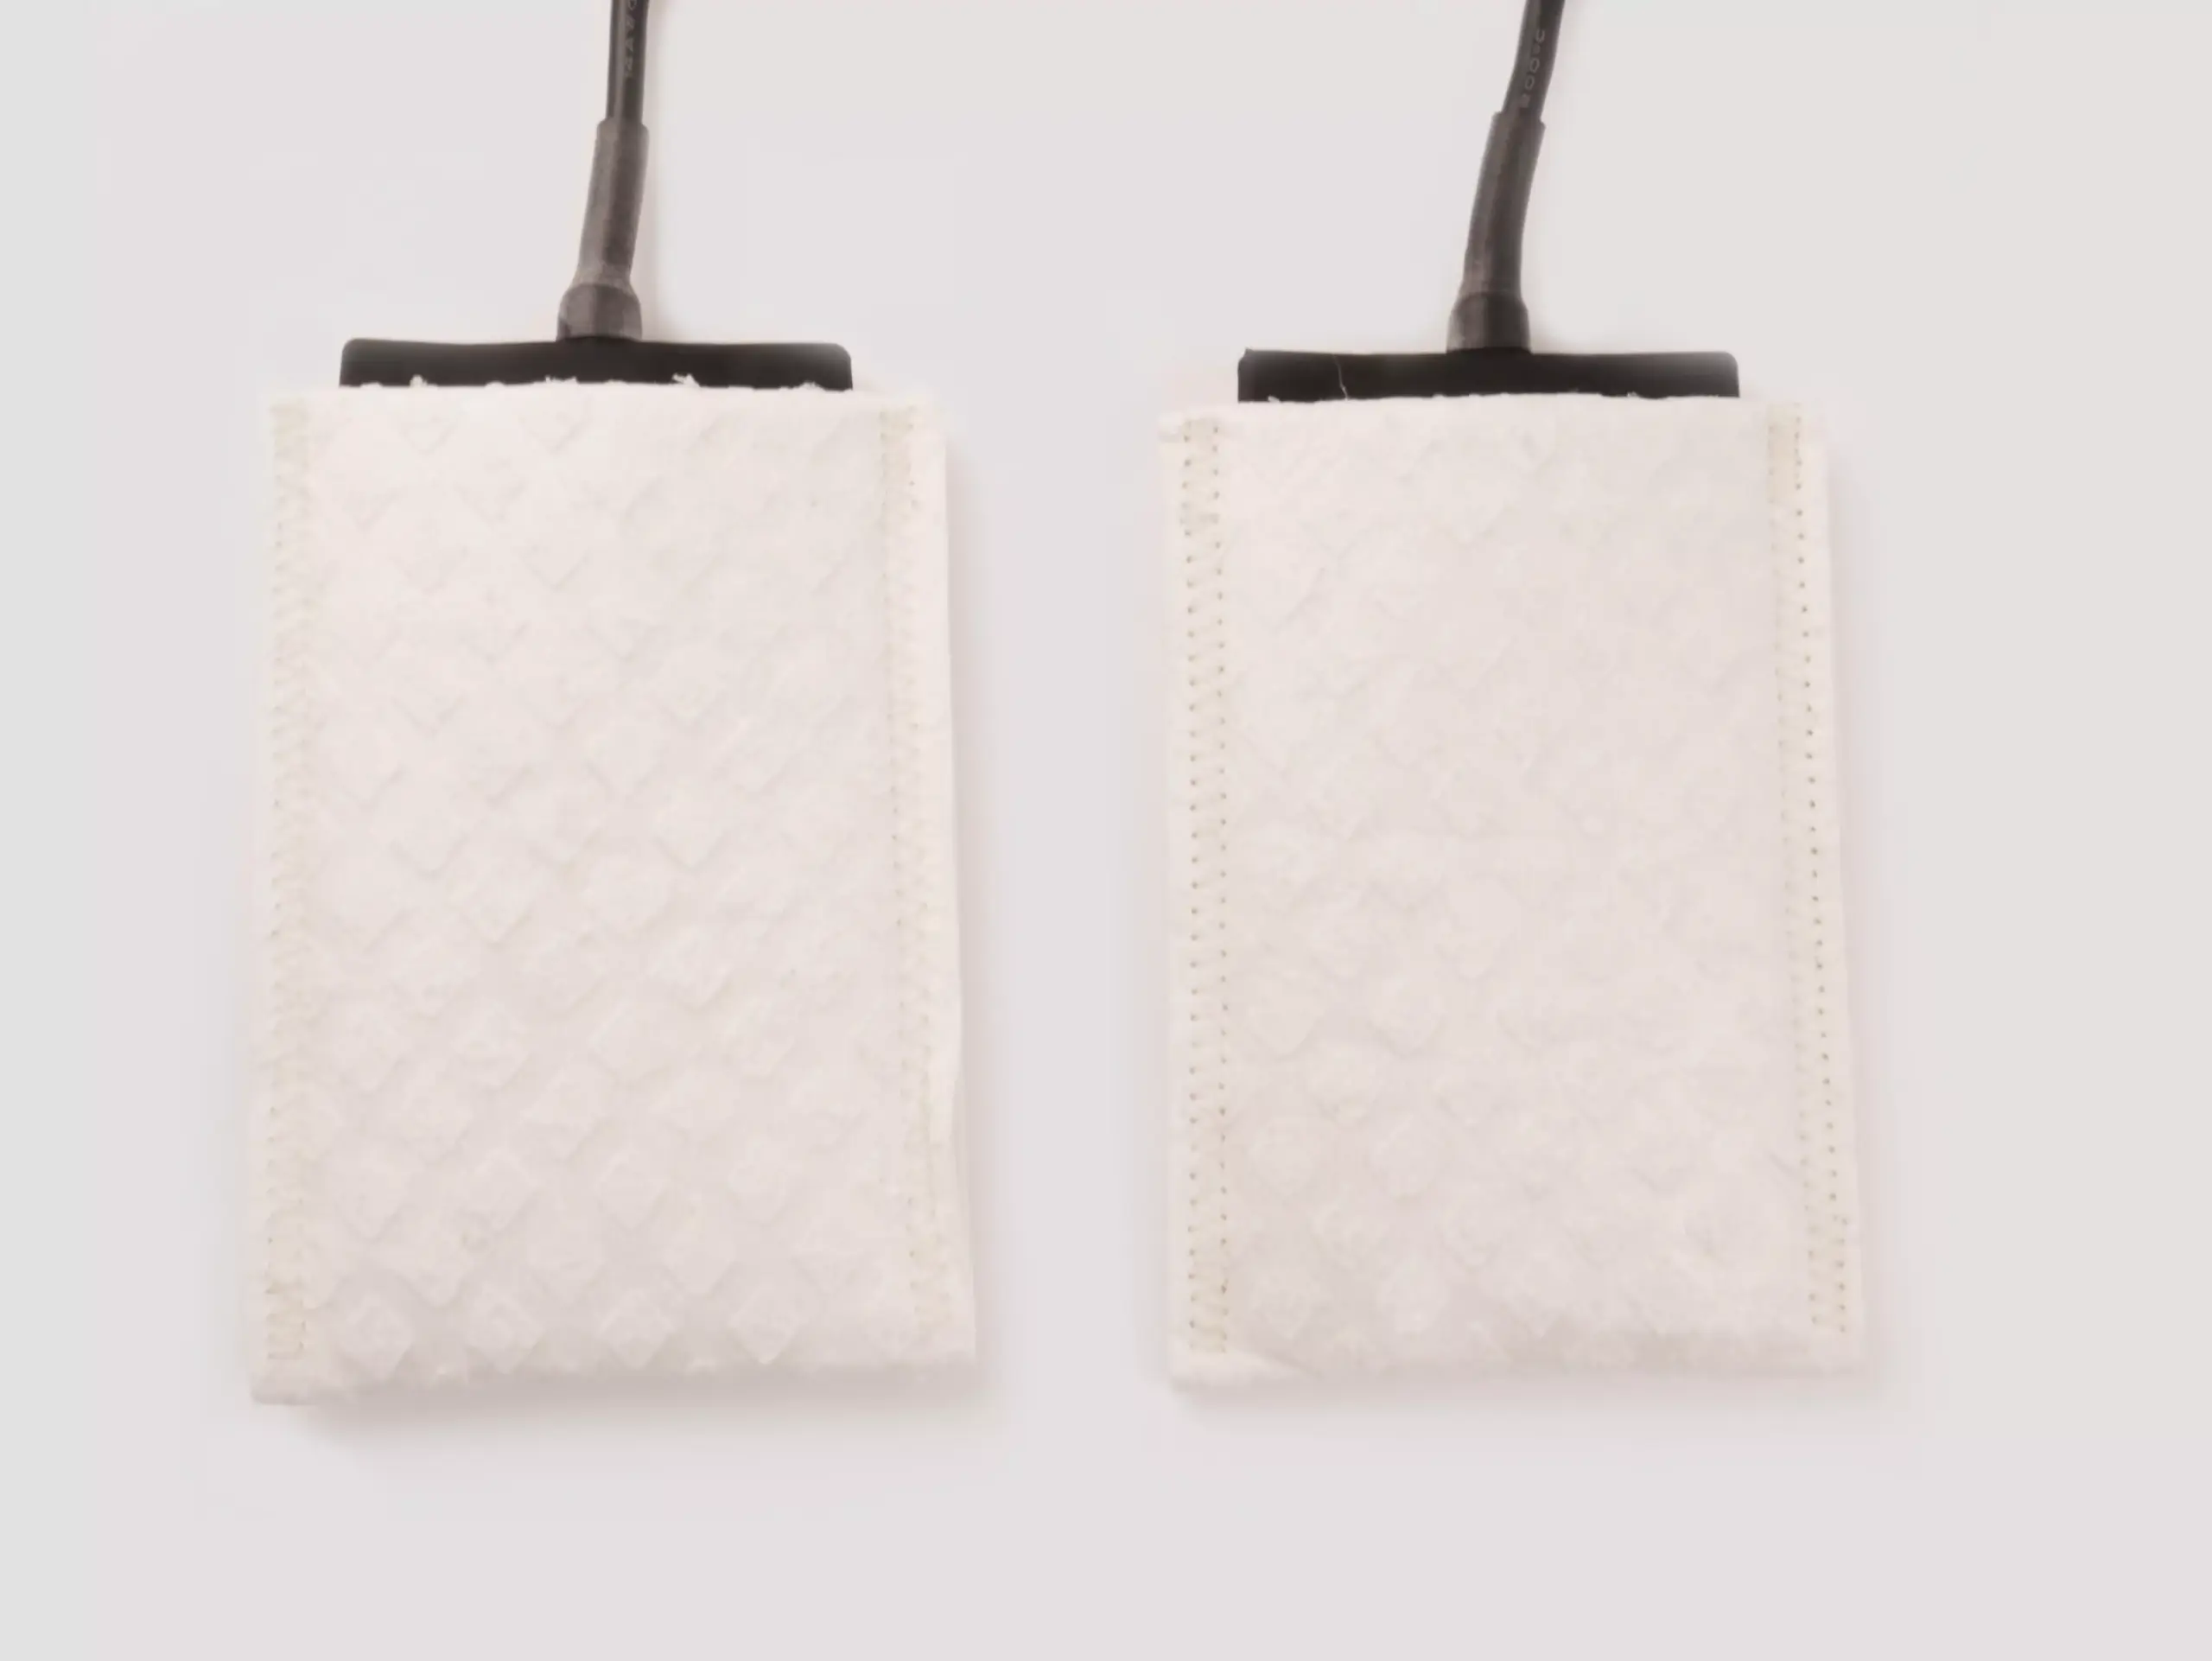
Step 2: Soak the Sponge Pads
- Firstly, submerge the sponge pad sleeves in tap water until fully saturated.
- Important: Do not wring them out - This is because the wetter the sponge pads, the better the current flow.
Step 3: Insert the Electrodes
Insert each axillary electrode into the sponge pad sleeves. In order to maintain consistent connectivity, ensure the electrodes are completely pushed in.

How to Use The Fischer
Setting Up The Fischer
Step 4: Power On the Device
- Plug The Fischer control unit into a wall outlet, and then turn it on.
Step 5: Connect the Electrodes
- Attach the electrode cables to connectors labeled E1 and E2 on the back of the control unit, at this point completing the setup process.
![Image highlighting the back panel of RA Fischer's 'The Fischer' Device, showcasing the white, rectangular 'main control unit.' This specialized iontophoresis device is specifically designed to address hyperhidrosis (excessive sweating). In the photograph, you can discern the power switch and the electrode ports. The background is solid white. [ Iontophoresis Device for Sweating ]](https://www.rafischer.com/wp-content/uploads/2023/09/the-fischer-iontophoresis-machine-hyperhidrosis-sweat-treatment-home-hospital-insurance-fda-approved-ra-fischer-11-scaled.webp)
How to Use The Fischer
Performing the Treatment
Step 6: Set the Timer
- Adjust the treatment timer to 15–20 minutes, then proceed to set the power level.
Step 7: Adjust the Power Level
- When first starting treatments, begin with a low power level, between 1–3 mA, to ensure comfort.
- Gradually increase the intensity in time based on your tolerance and progress.
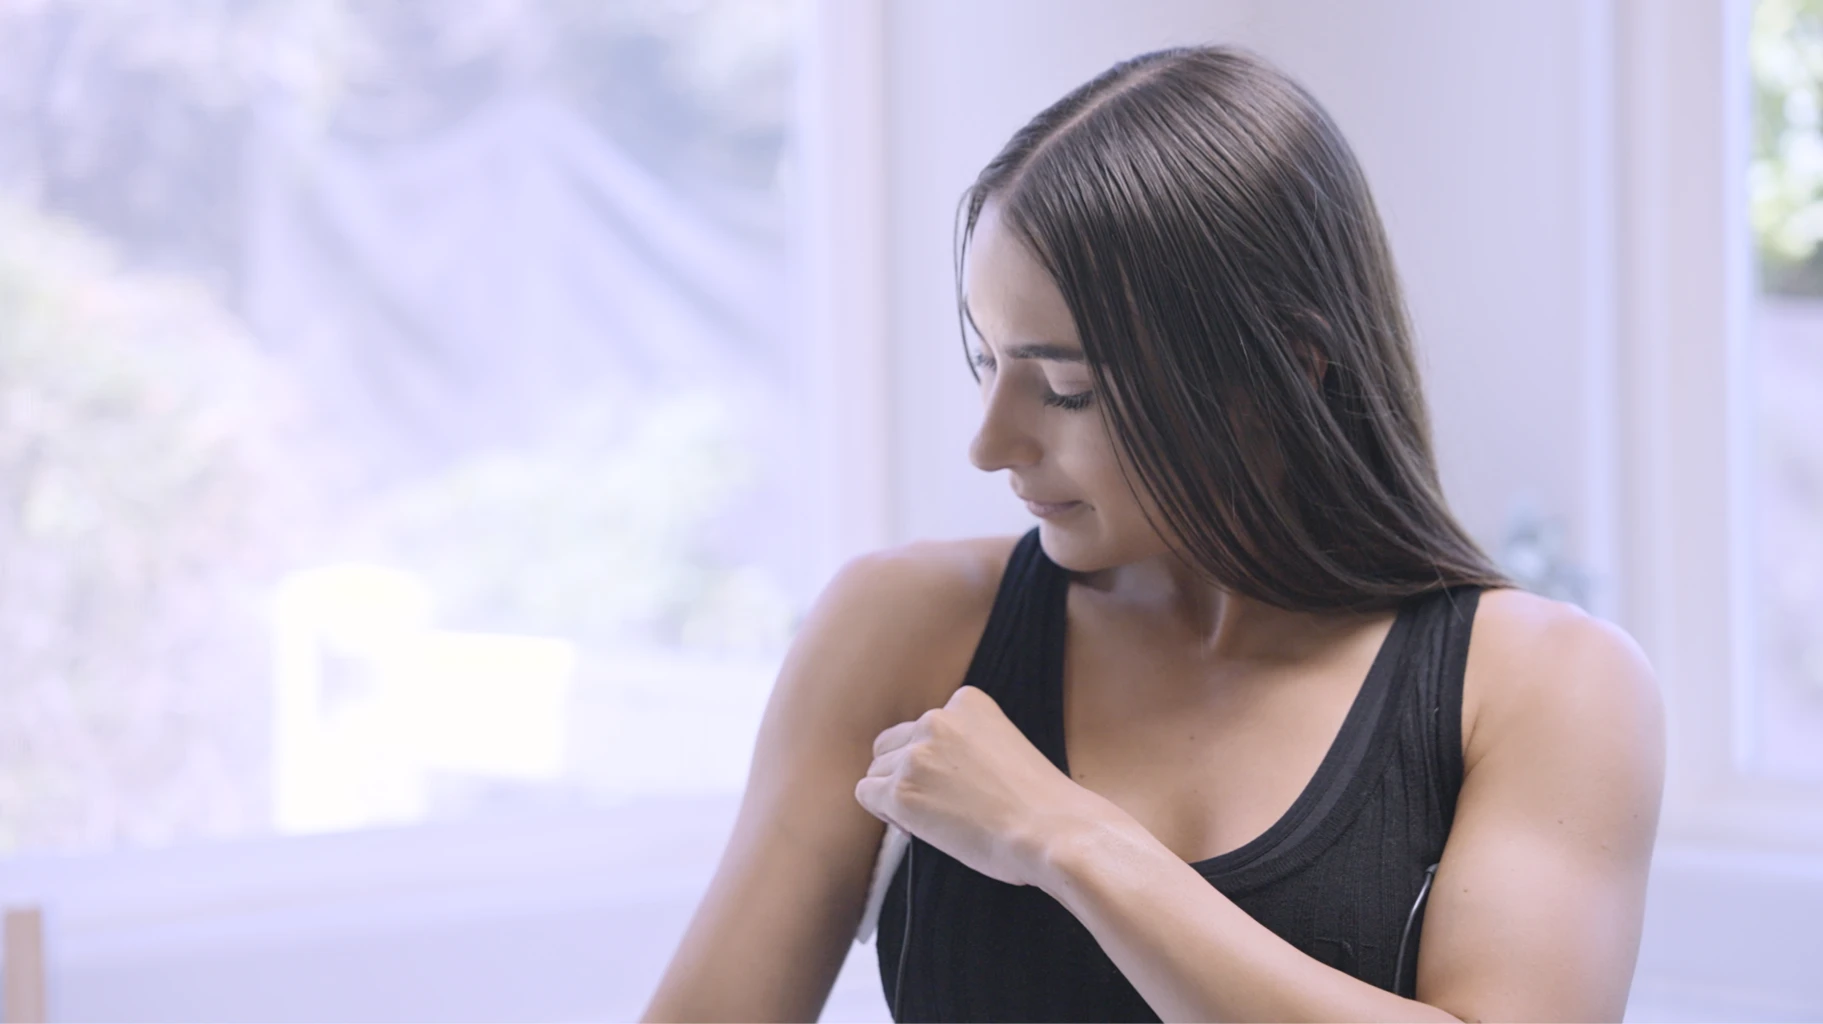
Step 8: Position the Attachments
- Place one attachment under each arm, seeing that the cables point forward; additionally, check that the attachments fit snugly for proper contact.
- Apply slight pressure with your arms in order to keep the attachments in place during the session.

Step 9: Complete the Treatment
- When the timer beeps, remove the attachments from under your arms; afterward, power off The Fischer to finish your session.
How to Use The Fischer
Additional Information and Support
Explore More Resources
Visit the "Getting Started with The Fischer" page for more information on device setup and treatment tips.
Need Help?
Refer to the included instruction manual for full details on device operation, or contact our Treatment Specialists for personalized assistance.
THE FISCHER
Reach out today
Contact one of our Treatment Specialists today to answer any and all of your questions about the Fischer.
